Using PLEXOS Export
This tutorial provides the basic steps required to export data from a PLEXOS database, using the Export Wizard.
The first page, figure 1, introduces you to the export wizard, click next to continue.
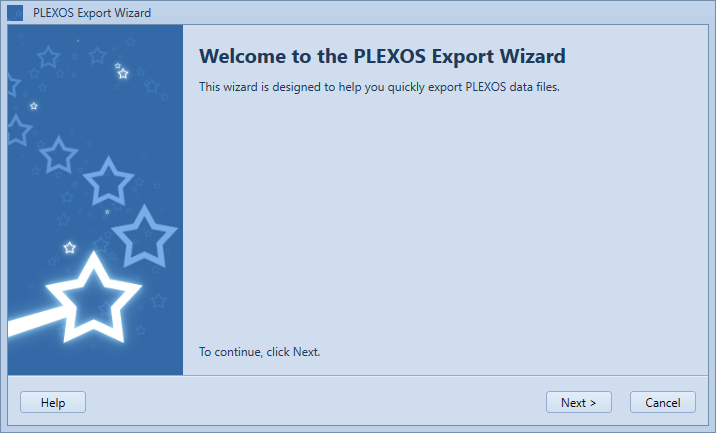 Figure 1: Export Wizard Welcome screen
On the second page, as depicted in figure 2, you have 2 options to configure how much information will be exported:
- Export the entire database
- Export individual items only, you will get the option to choose which items on a following page.
Additionally, this page allows you to make decisions about the output file.
- Output Format: write the export file in XML, Excel, or CIM format.
- Output Location: You can specify where you want it written, as well as the name of the file.
If you are exporting from a solution, additional options will show on this screen, as shown in figure 2.1, to select the phase and period to export with.
These options determine how the export data are sampled, as only one period can be exported at one time. This option will be hidden
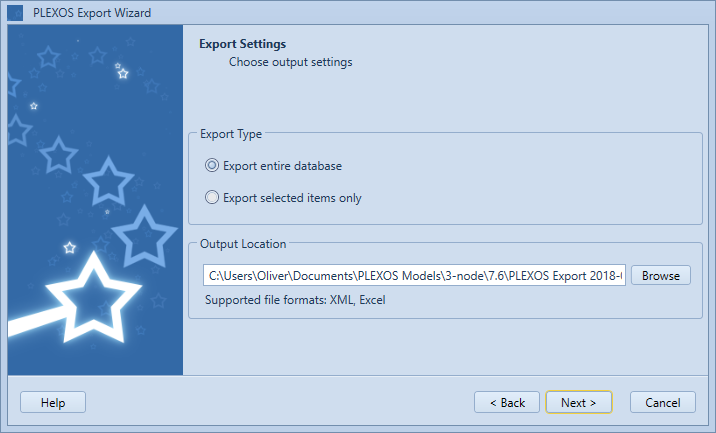 Figure 2: Wizard Export Option Screen
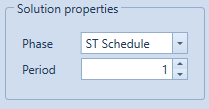 Figure 2.1: Solution Export Options
If you chose to export selected items only, you will see the page shown in Figure 3.
On this page select the items you would like to export.
- First select the class of the objects to export.
- Select the object from the object frame.(multiple items can be selected using the shift or Ctrl keys)
- Once the objects you want to export are highlighted, click the > button to add them to the export list. Alternatively all items in the Object window can be added to Export list by clicking >>
- Items can be removed from the Export list using < and << keys.
Note: All items in the export list will be exported
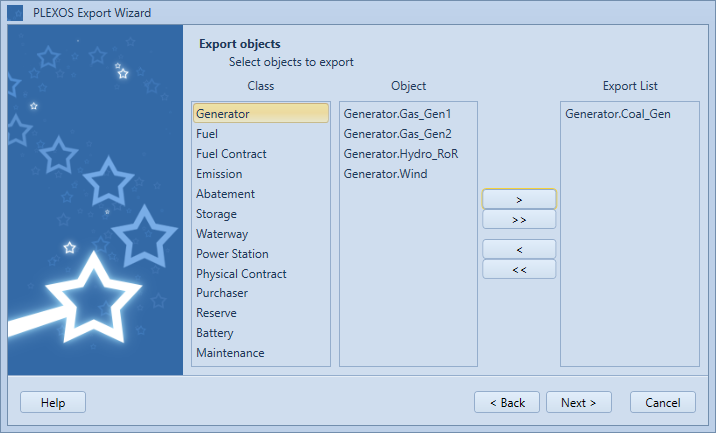 Figure 3: Export Wizard Object Selection screen
At this point, the export is ready to begin processing. If you have made the correct selections click next to begin the export.
While exporting, an export log will be shown on the screen. An example of this can be seen in Figure 5.
If you chose to export the data as XML, the exported file will be validated against an XML schema to ensure it is error free. If errors are found, you will see a list of the problems written in red text in the export log. If you get errors during the XML export, there may be errors in your database. These errors should be corrected before re-running the export.
XML export files with errors cannot be imported into a database using the import wizard.
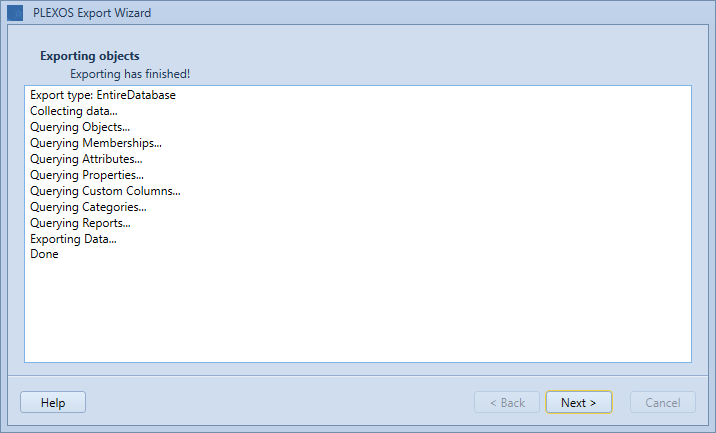 Figure 5: Export Wizard Error List
Upon successful exports Figure 6 is displayed, and link to the output file is given. Click the link will open the output file in your default text editor
To exit the wizard click, Finish.
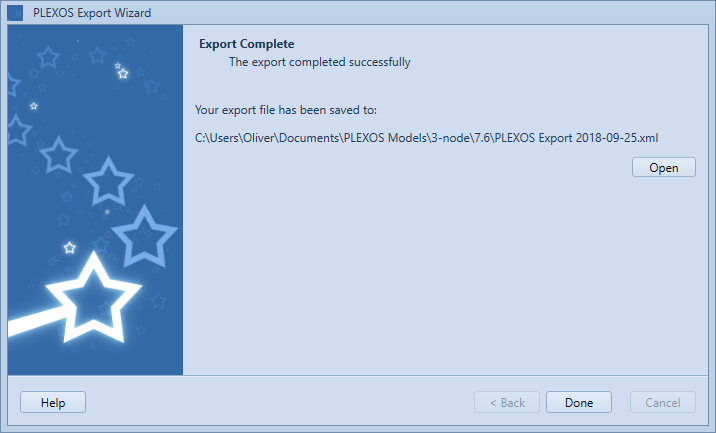 Figure 6: Export Wizard Completion page