Using PLEXOS Import
This tutorial provides the basic steps required to import data into a PLEXOS database, using the Import Wizard.
The first page, figure 1, introduces you to the import wizard, click next to continue.
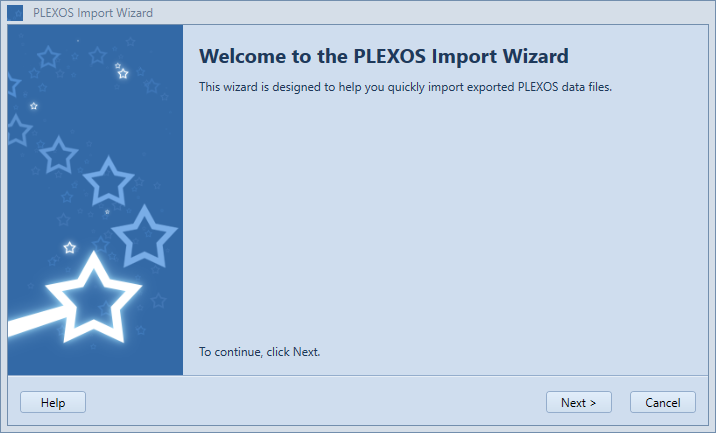 Figure 1: Import Wizard Welcome screen
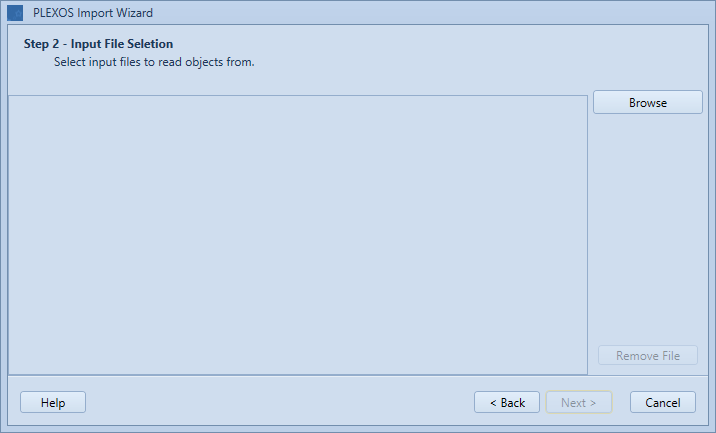
The second page, figure 2, gives you the opportunity to select the files you want to import.
- One or more files can be imported at any time
- Files must be in Extended Markup Language (.xml), Excel (.xls), PSSE (.pti / .raw), or CIM (.xml, .rdf) format. A combination of each acceptable.
- If an incorrect file is added, select the file and click "Remove File".
- After this has been done simply click "Next". At point all XML files will be validated.
- If a PTI file is added then the "PTI Option" button becomes active, which allows the user to choose naming format for the pti file import, as shown in Figure 3. (see PSSE options for further details about these options).
 |
 |
| Figure 2: Import File Selection | Figure 3: PTI Option |
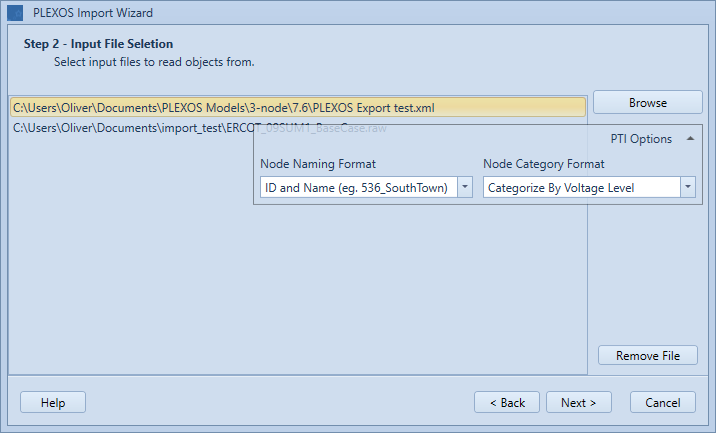
If during XML validation, errors are found, they will be displayed on the form shown in figure 4.
- Clicking OK will remove this file from the processing.
- Clicking Cancel will abort the import wizard.
 Figure 4: Import File Errors
Figure 5 shows the object list from the selected import files. In the window to the left the first column shows a list of available objects, the second column shows what file they will be imported from.
- Next to each object is a checkbox, if the item is checked the item will be imported.
- If you would like to overwrite existing objects, tick the "Replace existing objects" option.
- If you would like to create a backup of the database, before the data is imported tick the "Back-Up Database option".
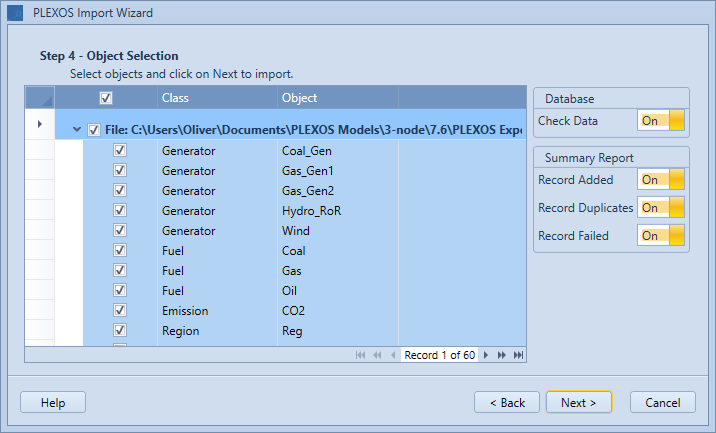 Figure 5: Import Objects Page
The wizard now has all the information required to perform the import. If you need to make changes to your selections click back, otherwise click next to perform the import. This screen of the import wizard can be seen in Figure 6.
If importing a CIM file, configuration settings for how CIM properties map to PLEXOS properties can be found in the cimplexos-mappings.json file, located in the PLEXOS install directory. If any changes are made to this file, it would be a good idea to make a backup of this file beforehand.
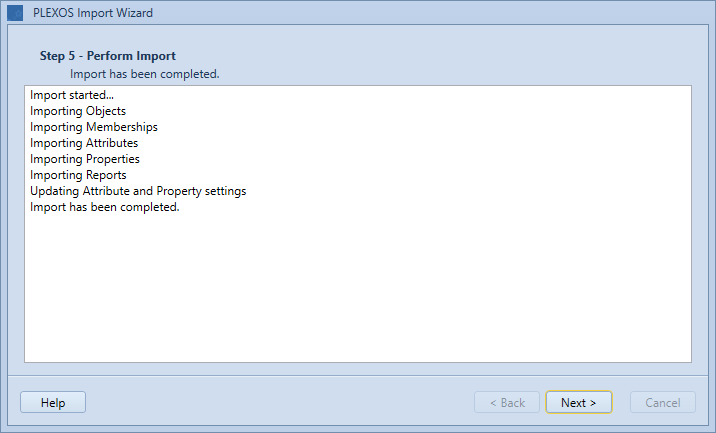 Figure 6: Import Log Page
The final wizard page provides the user with some statistics from the import. This provides information on the successful, duplicate and failed rows for each of the data rows imported. The statistics are broken down into a number of tabs, each of which represents the type of data that has been imported, for example "Attribute" data.
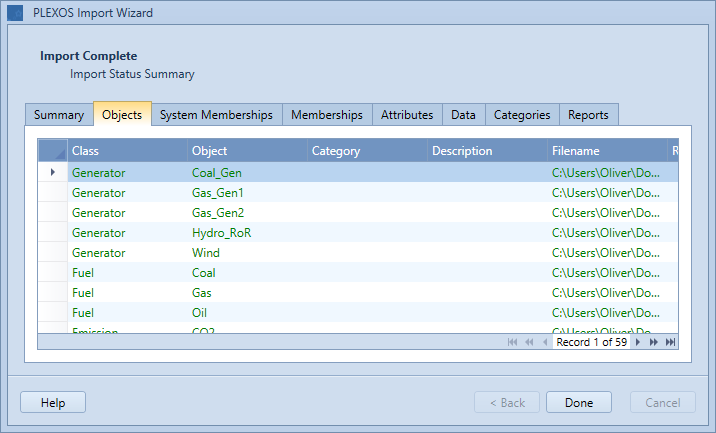 Figure 7: Import Statistics Page