Getting Started
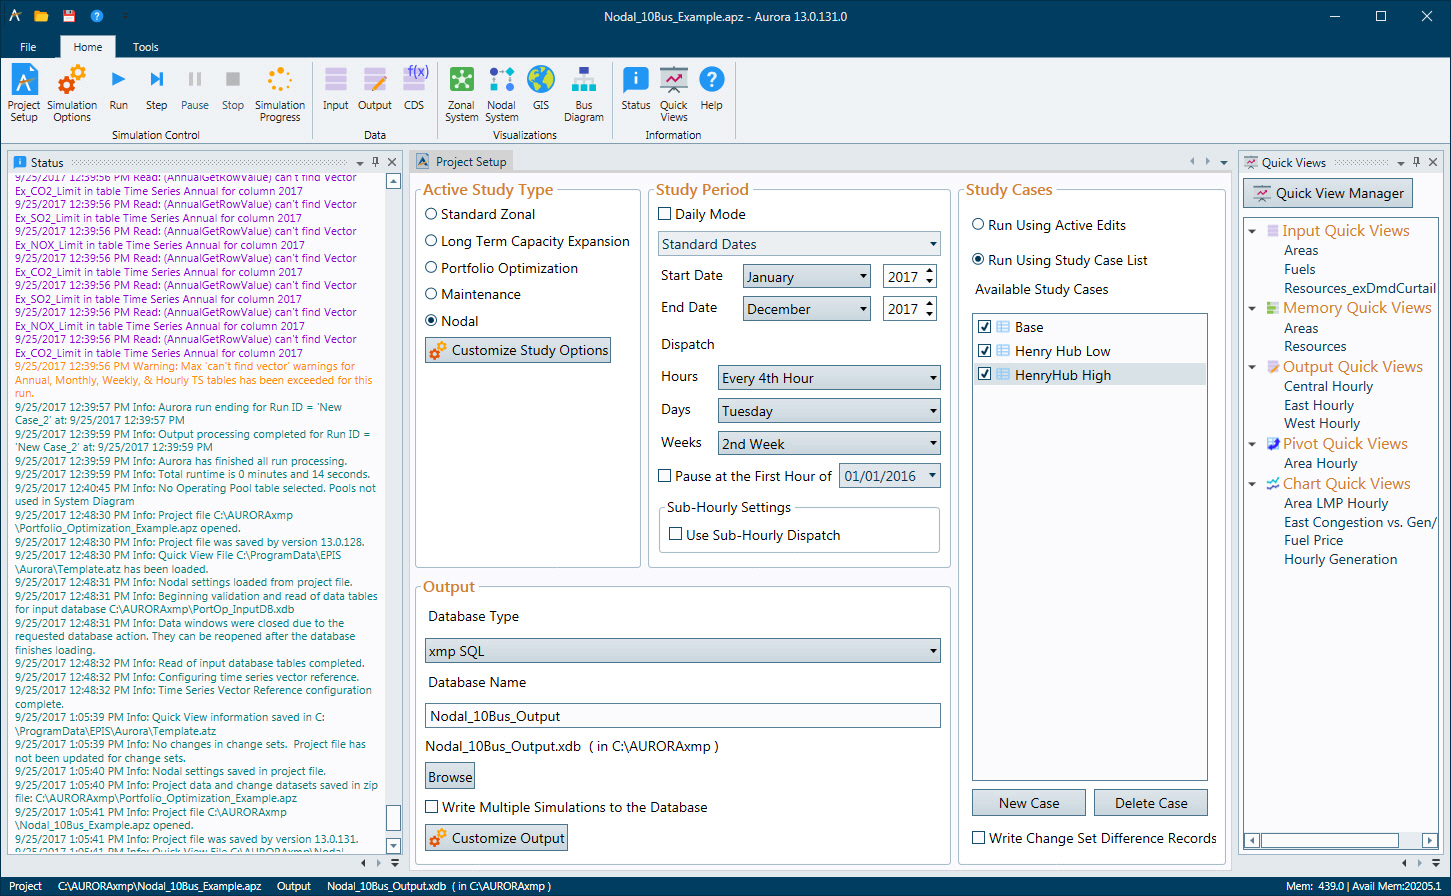
Launch Aurora using the desktop icon to display the main program window. This example already has a project loaded.

Opening an Aurora Project File
The Status Window shown directly above provides information about the actions performed by Aurora.
![]() NOTE: An Aurora project file does not automatically open when the application is started unless Open Last Used Project has been selected in the Options menu.
NOTE: An Aurora project file does not automatically open when the application is started unless Open Last Used Project has been selected in the Options menu.
 To open an Aurora project file:
1. Navigate to the Open button on the Quick Access Toolbar.
2. Go to File > Project and select Open Project, or
3. Select a project from the Recent Project list.
Either of the Open options will open the last used directory (on initial installation it will open the default C:\Aurora directory) and display a set of Aurora project files, identified by an .apz extension.
4. Double-click on the Aurora .apz file to open it, or
5. Highlight a project file using your mouse, and then click the Open button on the window.
Alternatively, Aurora can be started by double-clicking on a project file (*.apz) in Windows Explorer, which will start Aurora and load the project file selected.
Navigating Aurora and Simulation Options
After loading a project file, use the Simulation Options and Data Input buttons located on the Home Tab ribbon to determine desired input, output, and project file settings.
See Navigation for more information on using the Aurora graphical user interface (GUI).
Running Aurora
Once a project file (.apz) has been loaded and the desired parameters have been defined, you are ready to perform a run. Use the Run button on the Home Tab ribbon to start an Aurora study. The Status window and Simulation Progress window will provide information on the progress of the run.
Working with Output
After a run is completed, use the Output button on the Home Tab ribbon to view and work with output data. The Output Tables window will open providing access to the tables in the output database.
