Using Quick Views 
Quick Views provide the ability to customize the display of information for Input, Output, Memory, and CDS tables and to save Chart or Pivot table views. These saved Quick Views let you filter data, order columns, and set other visual appearance factors for data tables or charts so you can reuse them anytime within a project.
Each project is associated with a project Quick View file, or .atz type file, that offers saved views accessible from the Quick Views window under the appropriate table type. Additionally, a Default View may be created to alter the view of all data tables when they are opened across any project.
Table Quick Views
Follow the steps below to create a Quick View for a table:
-
Open the desired table by double-clicking the table name or by right-clicking and selecting Edit Table/View Table from the Data Grid Right-Click Menu.
-
Modify the appearance of the table as desired.
-
To move a column, click and hold the column header, then drag the column to the desired location in the database table and release to place the column in selected position.
-
To resize a column width, click and hold the line to the right of the column, then drag to desired width and release.
-
To resize a sub-header row height, click and hold the line above row #1 outside the data field, then drag down to desired height.
-
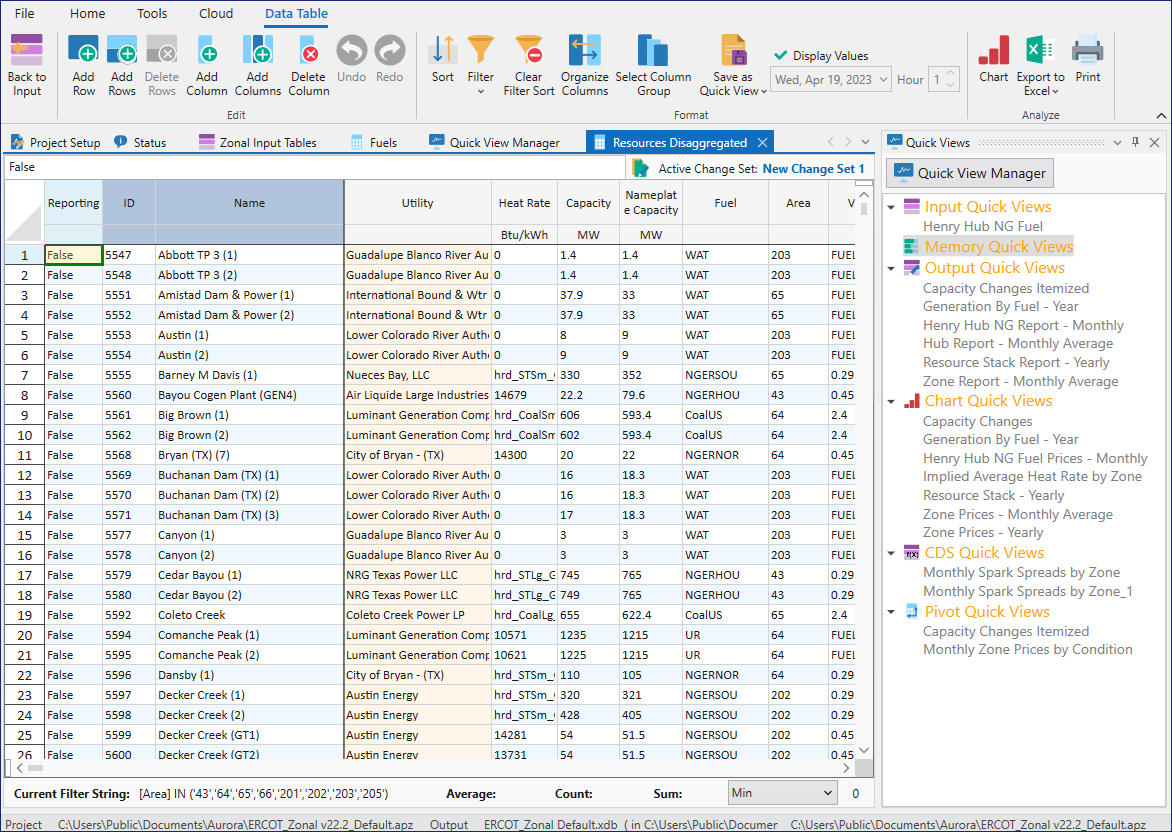
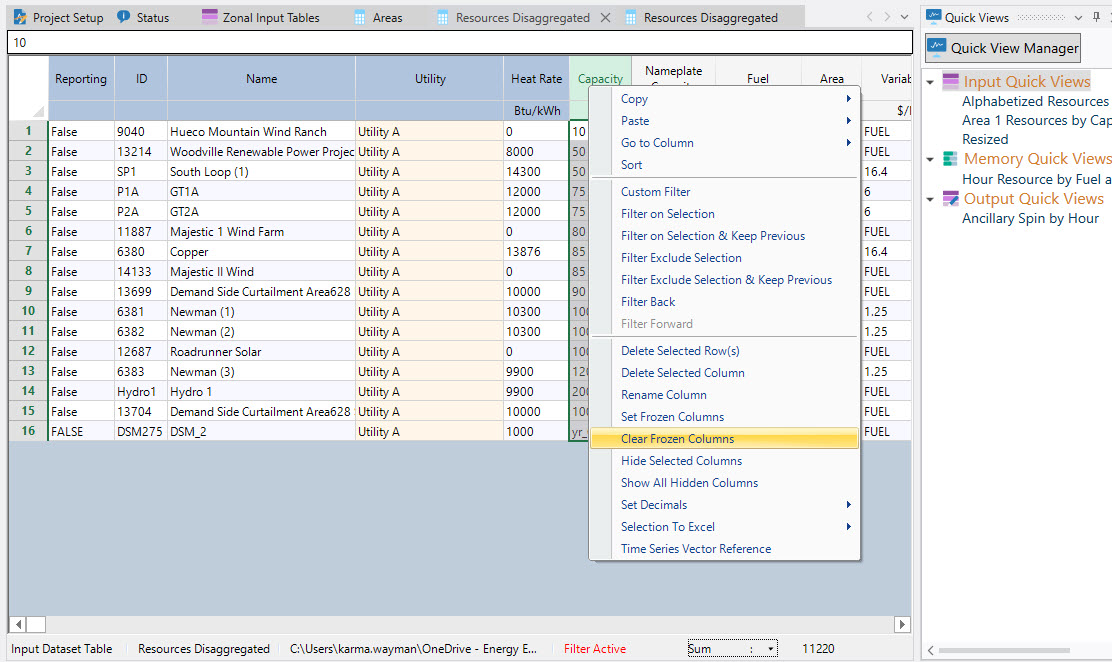
To lock column panes when scrolling horizontally, select a cell/column in the table, then right-click and select Set Frozen Columns. This locks the selected cell and any to the left of it. These columns will be highlighted, indicating that they are locked and will thus remain at the left of the table when scrolling horizontally. In the example below, the Hydro Year and Name columns are locked and will remain visible as the user scrolls through columns. To change the fixed columns, repeat the process
-
To remove the locked columns, right-click and select Clear Frozen Columns
-
-
-
A Filter or Sort can also be applied to the data and preserved in the Quick View. See Editing Database Tables for more information on these features.
-
-
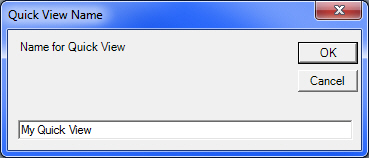
When the desired view is achieved, click the
 button on the toolbar for the active table. Enter a name for the Quick View in the window shown below and select OK. The customized table view will be saved to the Quick View window under the appropriate table type (i.e., Input, Output, Memory, or CDS). Multiple views of the same table can be saved as long as each is given a unique name.
-
To view the customized version of the table, double-click on the Quick View name from the list.
Import Quick Views
See Import Quick Views for more information. This option is used to import custom Quick Views from a different project Quick View file (.atz).
Default Quick Views
Default views are provided for input, output and memory tables when those tables are opened from the data grid window. These default views have been created for each table type for improved data layout.
Automatically Filtered Views - Some tables, when opened, will automatically show a Filtered View based on the areas, zones, or pools which are running in the study system. Filtered views are demarcated with Filter Active in the table's lower status bar. (The table must be checked 'In Study'.) Automatic filters are overridden by the User Default view (below).
User Defaults - You can change the default view for each table to a personalized default view. To change the default view, save a new Quick View with the name "UserDefault" (see above for directions on saving Quick Views) or use the Save as Quick View dropdown feature. The default view can be changed at any time by saving again with the "UserDefault" name. Default Quick Views are not listed in the Quick View window but are automatically used anytime a table is opened. The original, factory default view can be restored at any time using the Restore Original Quick Views button on the Quick View Manager ribbon, but this will delete ALL UserDefault views.
![]() NOTE: Be aware that the default view is the default for table types in the input database (e.g., the default is applied to ALL RMT tables, not the specific Alberta RMT table). Thus a default view created for a specific table will be used for any table of that type. Also note that if a filtered view is saved as a default Quick View, the Filter will remain the next time the table is opened (without using another Quick View), and thus not all line items will be seen. In this case, the filter can be removed by pressing the Clear Filter/Sort button on the toolbar.
NOTE: Be aware that the default view is the default for table types in the input database (e.g., the default is applied to ALL RMT tables, not the specific Alberta RMT table). Thus a default view created for a specific table will be used for any table of that type. Also note that if a filtered view is saved as a default Quick View, the Filter will remain the next time the table is opened (without using another Quick View), and thus not all line items will be seen. In this case, the filter can be removed by pressing the Clear Filter/Sort button on the toolbar.
Quick View Manager
The Quick View Manager provides flexible settings for project and UserDefault Quick Views. It is used to set up the automatic load Quick Views at the end of a simulation, including saving and emailing tables and charts. The Manager window is especially helpful for generating consistent default output Quick Views across time periods from those already in the Quick View file, even for the User Default views.
![]() Using Quick Views
Using Quick Views